|
本文系统环境:CentOS release 5.7 (Final) x64
一、主机名配置(非必须)
cat /etc/hosts
# Do not remove the following line, or various programs
# that require network functionality will fail.
#::1 localhost6.localdomain6 localhost6
192.168.1.252 octest.test.com
192.168.1.252 test.com
二、apache安装
1.yum install httpd -y
2.配置
根据自己需要变更端口号、虚拟主机、cgi支持等等。
a\如ServerName 192.168.1.252:8090
b\DirectoryIndex 加上 index.cgi(放第一位)
c\把#AddHandler cgi-script .cgi #去掉
d\注释此如下四行
#<Directory />
# Options FollowSymLinks
# AllowOverride None
#</Directory>
e\
<Directory “/var/www/html/”>
Options Indexes FollowSymLinks
AllowOverride None
AllowOverride all
Options +ExecCGI +FollowSymLinks
DirectoryIndex index.cgi
Order allow,deny
Allow from all
</Directory>
f\/etc/init.d/httpd restart
三、mysql安装
1.yum install mysql* -y
2.创建有权限的mysql帐号
GRANT ALL ON bugs.* TO bugs@localhost IDENTIFIED BY ’123456′;
flush privileges
四、配置SMTP
新版本bugzilla自带有SMTP服务,只需开启和设置就可以使用,不需要sendmail支持。
vim ../data/params
配置其中的
maintainer : test@test.com
mail_delivery_method : SMTP
mailfrom : test@test.com
smtpserver : smtp.test.com
smtp_username: test@test.com
smtp_password : **********
注意:maintainer、mailfrom必须相同!smtp_username邮箱必须是存在的真实的邮箱,smtp_password是邮箱的密码(要与你所登陆邮箱时的密码相同)!
五、安装bugzilla所需的perl模块
我们这里使用最新的bugzilla-4.2.3.tar.gz
下载地址:wget http://ftp.mozilla.org/pub/mozilla.org/webtools/bugzilla-4.2.3.tar.gz
tar zxvf bugzilla-4.2.3.tar.gz
cd bugzilla-4.2.3
perl checksetup.pl
检测出来必须安装的perl包,都编译安装或在线安装或执行自动安装。
AppConfig CGI Data::Format DBI DBD::mysql Template TimeDate
例如:
1,编译安装tar -zxvf AppConfig-1.56.tar.gz
cd AppConfig-1.56
perl Makefile.PL
make
make test
make install
2,在线安装cpan Data::Format(force install Data::Format)
3,自动全部安装/usr/bin/perl install-module.pl –all
安装完成后再次检测:
perl checksetup.pl
* This is Bugzilla 4.2.3 on perl 5.8.8
* Running on Linux 2.6.18-274.el5xen #1 SMP Fri Jul 22 05:31:07 EDT 2011
Checking perl modules…
Checking for CGI.pm (v3.21) ok: found v3.49
Checking for Digest-SHA (any) ok: found v5.72
Checking for TimeDate (v2.21) ok: found v2.24
Checking for DateTime (v0.28) ok: found v0.53
Checking for DateTime-TimeZone (v0.71) ok: found v1.50
Checking for DBI (v1.41) ok: found v1.622
Checking for Template-Toolkit (v2.22) ok: found v2.24
Checking for Email-Send (v2.00) ok: found v2.198
Checking for Email-MIME (v1.861) ok: found v1.911
Checking for Email-MIME-Encodings (v1.313) ok: found v1.313
Checking for Email-MIME-Modifier (v1.442) ok: found v1.911
Checking for URI (any) ok: found v1.60
Checking available perl DBD modules…
Checking for DBD-Pg (v1.45) ok: found v1.49
Checking for DBD-mysql (v4.00) ok: found v4.022
六、Bugzilla 配置
1,vim localconfig
#生产一个index.html文件指向index.cgi
:$s/index_html=0/index_html=1/g
#mysql 用户密码,用户默认和之前建的一致
$db_pass=’123456′
2,perl checksetup.pl
输入管理员邮箱 bugadmin@test.com
输入真实姓名:
输入登入密码:
提示完成。
3,到这里面我们最好到mysql里验证是否创建了bugzilla所需要的表。
mysql -uroot -p -S /var/lib/mysql/mysql.sock
mysql> use bugs
Reading table information for completion of table and column names
You can turn off this feature to get a quicker startup with -A
Database changed
mysql> show tables;
+—————————–+
| Tables_in_bugs |
+—————————–+
| attach_data |
| attachments |
| audit_log |
| bug_group_map |
| bug_see_also |
| bug_severity |
| bug_status |
| bug_tag |
| bugs |
| bugs_activity |
4,权限添加
chown -R root.apache bugzilla/
chmod -R 777 bugzilla/
这样bugzilla就安装就完成了。
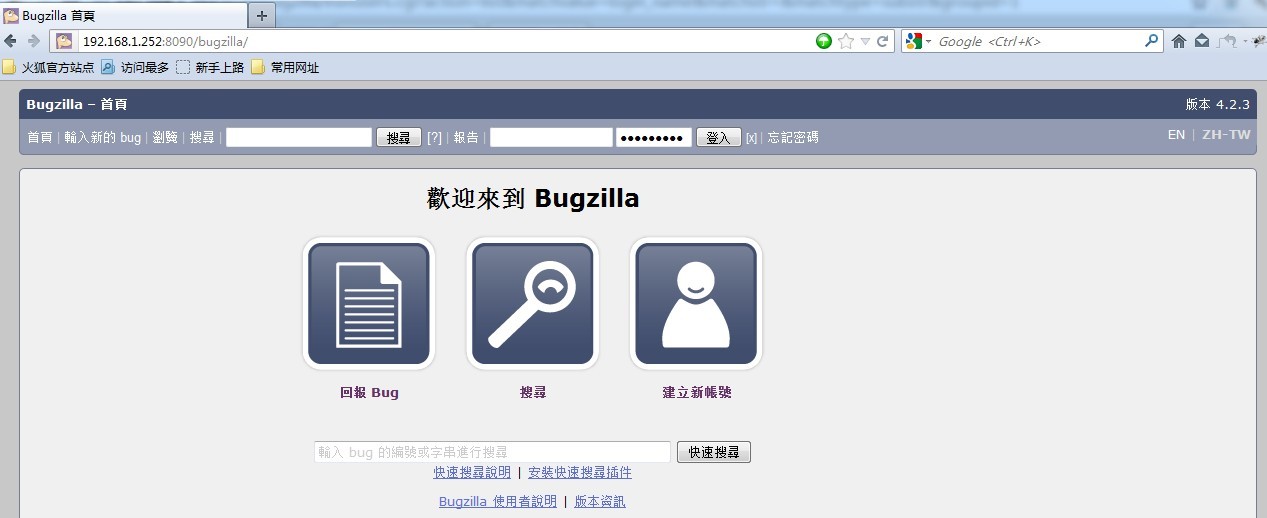
七、登入与访问
http://192.168.1.252:8090/bugzilla
输入管理帐号及密码登入。
(责任编辑:IT) |