|
一、Zabbix简介 Zabbix是一个基于WEB界面的提供分布式系统监视以及网络监视功能的企业级的开源解决方案。 Zabbix能监视各种网络参数,保证服务器系统的安全运营;并提供灵活的通知机制以让系统管理员快速定位/解决存在的各种问题。 Zabbix由2部分构成,zabbix server与可选组件zabbix agent。 Zabbix server可以通过SNMP,zabbix agent,ping,端口监视等方法提供对远程服务器/网络状态的监视,数据收集等功能,可以运行在众多平台上。
二、基础组件安装
zabbix的安装需要LAMP环境。 # yum install php php-gd php-mysql php-bcmath php-mbstring php-xml curl curl-devel net-snmp net-snmp-devel perl-DBI # yum install httpd mariadb*
三、数据库配置 #systemctl start mariadb.service # mysql -u root -p Enter password: ##输入MySQL密码,默认为空 MariaDB [(none)]> create database zabbix character set utf8; ##创建数据库zabbix,并且数据库编码使用utf8 MariaDB [(none)]> insert into mysql.user(Host,User,Password) values('localhost','zabbix',password('zabbix')); ##新建账户zabbix,密码zabbix MariaDB [(none)]> flush privileges; ##刷新系统授权 MariaDB [(none)]> grant all on zabbix.* to 'zabbix'@'127.0.0.1' identified by 'zabbix' with grant option; ##允许账户能从本机连接至数据库zabbix MariaDB [(none)]> flush privileges;
四、zabbix的安装和配置 ①下载并进行编译安装 # wgethttp://nchc.dl.sourceforge.net/project/zabbix/ZABBIX%20Latest%20Stable/2.4.5/zabbix-2.4.5.tar.gz # tar -zxvf zabbix-2.4.5.tar.gz # cd zabbix-2.4.5
# ./configure --with-mysql=/usr/bin/mysql_config --with-net-snmp --with-libcurl --enable-server --enable-agent --enable-proxy --prefix=/usr/local/zabbix --prefix----> 指定zabbix安装目录
--enable-server----> 支持zabbix服务器 --with-libcurl----> 使用curl包 --with-net-snmp----> 使用net-snmp软件包,选择性地指定路径NET-SNMP配置 --with-mysql=/usr/bin/mysql_config 使用MySQL客户端库可以选择指定路径mysql_config
# make # make install
②导入数据库 # mysql -u root -p MariaDB [(none)]> use zabbix; MariaDB [zabbix]> source /root/zabbix-2.4.5/database/mysql/schema.sql MariaDB [zabbix]> source /root/zabbix-2.4.5/database/mysql/data.sql MariaDB [zabbix]> source /root/zabbix-2.4.5/database/mysql/images.sql MariaDB [zabbix]> quit 注:导入请按以上顺序导入,否则会出现错误情况。
③添加服务器对应的端口(可省略) [root@localhost ~]# cat /etc/services |grep zabbix zabbix-agent 10050/tcp # Zabbix Agent //客户端 zabbix-agent 10050/udp # Zabbix Agent zabbix-trapper 10051/tcp # Zabbix Trapper //服务端 zabbix-trapper 10051/udp # Zabbix Trapper
④拷贝相关的配置文件到/etc下并进行相关配置修改 [root@localhost ~]# mkdir -p /etc/zabbix [root@localhost ~]# cp -r zabbix-2.4.5/conf/* /etc/zabbix/ [root@localhost ~]# chown -R zabbix:zabbix /etc/zabbix [root@localhost ~]#ln -s /usr/local/zabbix/etc /etc/zabbix/ [root@localhost ~]# ln -s /usr/local/zabbix/bin/* /usr/bin/ [root@localhost ~]# ln -s /usr/local/zabbix/sbin/* /usr/sbin/ a).修改zabbix_server.conf [root@localhost ~]# vi /etc/zabbix/zabbix_server.conf
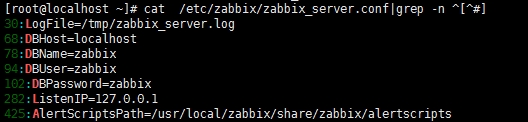
修改后如下: [root@localhost ~]# cat /etc/zabbix/zabbix_server.conf|grep -n ^[^#] 30:LogFile=/tmp/zabbix_server.log ##日志文件地址 68:DBHost=localhost ##数据库主机 78:DBName=zabbix ##数据库名 94:DBUser=zabbix ##数据库用户名 102:DBPassword=zabbix ##数据库密码 282:ListenIP=127.0.0.1 ##数据库IP地址 425:AlertScriptsPath=/usr/local/zabbix/share/zabbix/alertscripts##zabbix运行脚本存放目录
b).修改zabbix_agentd.conf [root@localhost ~]# vi /etc/zabbix/zabbix_agentd.conf
修改后如下: [root@localhost ~]# cat /etc/zabbix/zabbix_agentd.conf|grep -n ^[^#] 11:PidFile=/tmp/zabbix_agentd.pid ##进程PID 21:LogFile=/tmp/zabbix_agentd.log ##日志保存位置 59:EnableRemoteCommands=1 ##允许执行远程命令 81:Server=127.0.0.1 ##agent端的ip 122:ServerActive=127.0.0.1 133:Hostname=Zabbix server ##必须与zabbix创建的hostname相同 252:Include=/usr/local/etc/zabbix_agentd.conf.d/ 265:UnsafeUserParameters=1 ##启动自定义key
五、修改PHP相关参数 # vi /etc/php.ini 384 max_execution_time = 300 394 max_input_time = 300 405 memory_limit = 128M 800 upload_max_filesize = 2M 878 date.timezone = Asia/Shanghai 672 post_max_size = 28M
六、配置web站点 ① # cd zabbix-2.4.5/ # cp -r frontends/php /var/www/html/zabbix
②修改httpd.conf的参数 # vi /etc/httpd/conf/httpd.conf 163 <IfModule dir_module> 164 DirectoryIndex index.html index.php 165 </IfModule>
③关闭SELinux: a、临时关闭(不用重启机器): # setenforce 0 ##设置SELinux 成为permissive模式 (关闭SELinux) # setenforce 1 ##设置SELinux 成为enforcing模式 (开启SELinux)
b、修改配置文件需要重启机器: # vi /etc/selinux/config 将SELINUX=enforcing 改为SELINUX=disabled 需重启机器
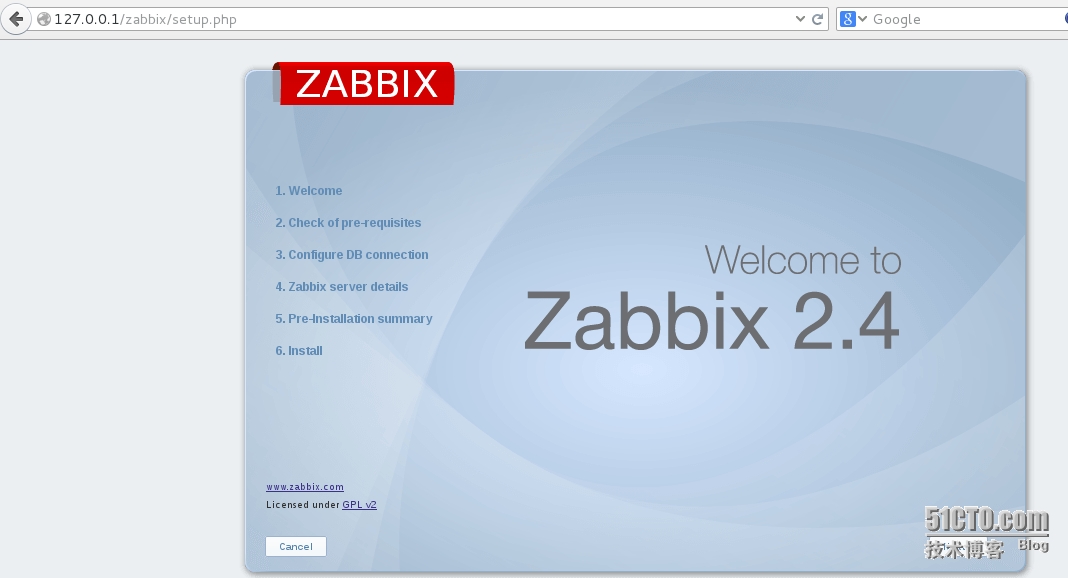
七、安装web界面 #systemctl start httpd.service 在浏览器中输入http://127.0.0.1/zabbix进入zabbix的web配置页面=====》
(如全部OK)NEXT=====》
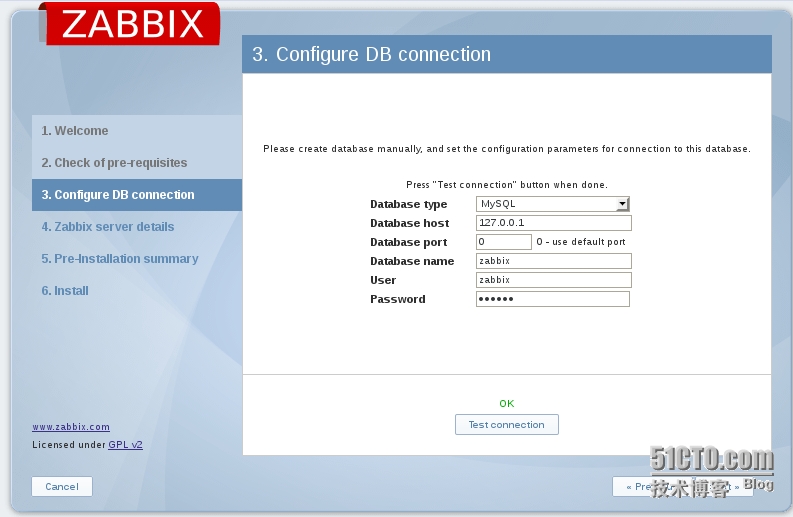
配置MySQL数据库信息,并点击“Test connection”按键,如OK====》NEXT=====》
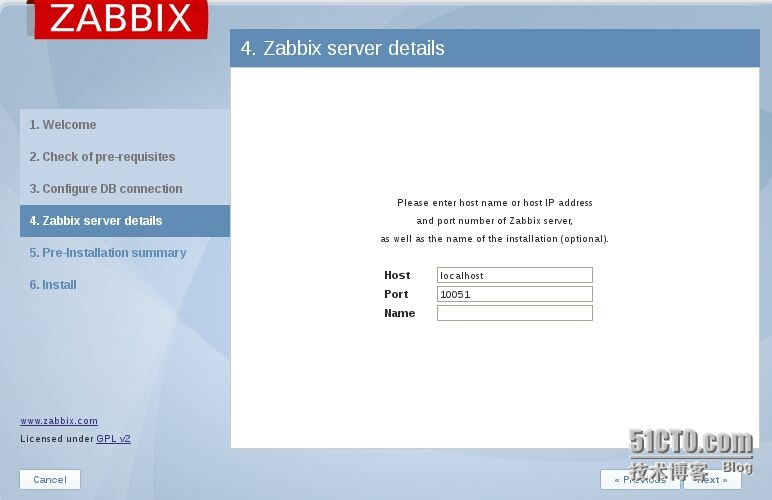
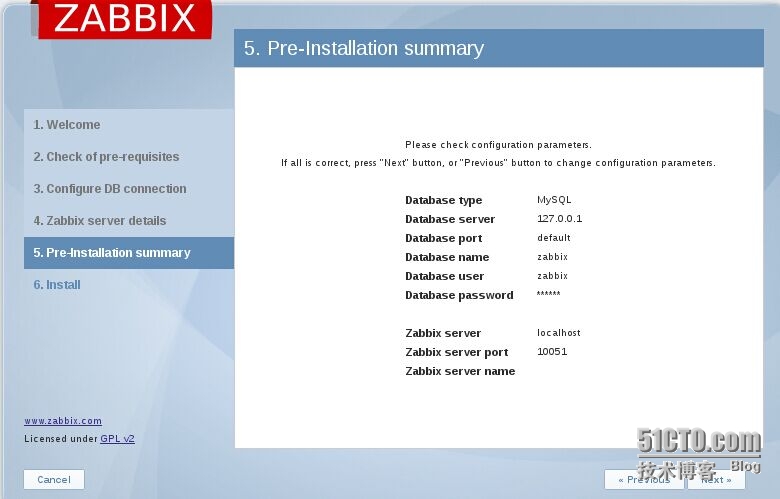
默认,直接NEXT=====》
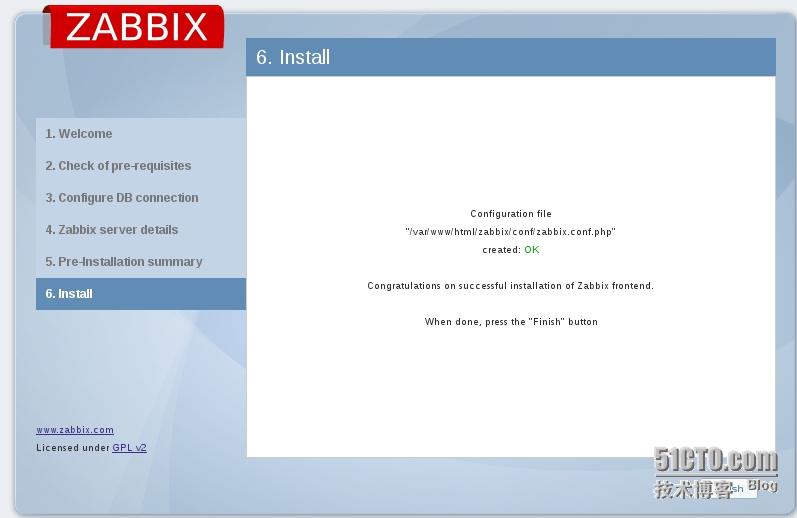
默认,直接NEXT=====》出现错误,提示Fail(忘截图了) Configuration file"/var/www/html/zabbix/conf/zabbix.conf.php" created: Fail Unable to create the configuration file.Please install it manually, or fix permissions on the conf directory. Press the "Download configuration file" button, download the configuration file and save it as"/var/www/html/zabbix/conf/zabbix.conf.php"When done, press the "Retry" button
=====》按提示点击“Download configuration file”按钮,并将下载的zabbix.conf.php保存到 /var/www/html/zabbix/conf/下,点击“Retry”按钮重试=====》
显示OK,点击“Finish”按钮完成安装操作。
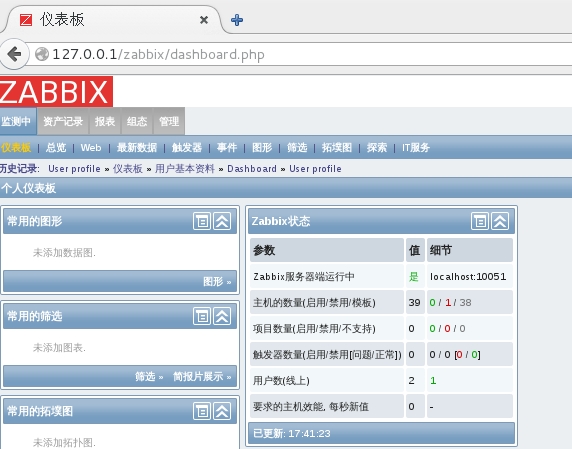
Zabbix的默认账号为admin,密码为zabbix。
zabbix默认是英文版,更改语言======》Profile
======》在Language中选择zh_CN,点击Update
=====》已更改为汉语
八、添加开机启动脚本
# cd zabbix-2.4.5/
# cp misc/init.d/fedora/core5/zabbix_server /etc/rc.d/init.d/zabbix_server
# cp misc/init.d/fedora/core5/zabbix_server /etc/rc.d/init.d/zabbix_agentd # chmod u+x /etc/rc.d/init.d/zabbix_server # chmod u+x /etc/rc.d/init.d/zabbix_agentd # chkconfig zabbix_server on # chkconfig zabbix_agentd on # /usr/local/zabbix/sbin/zabbix_server start (责任编辑:IT) |