|
RHCE7认证学习笔记16——使用虚拟化系统KVM
1、虚拟化平台
开源: Openstack,Ovint
收费:RHEV
2、虚拟机KVM
KVM:kernal virtual machine基于内核的虚拟机,内核的一个模块;
用户空间管理工具:libvirt 接口,
要配置KVM,必须在Bios开启虚拟化功能,前提是CPU支持虚拟化;
[root@linuxidc ~]# grep vmx /proc/cpuinfo
flags: fpu vme de pse tsc msr pae mce cx8 apic sep mtrr pge mca cmov pat pse36 clflush dts mmx fxsr sse sse2 ss syscall nx rdtscp lm constant_tsc arch_perfmon pebs bts nopl xtopology tsc_reliable nonstop_tsc aperfmperf pni pclmulqdq vmx ssse3 cx16 pcid sse4_1 sse4_2 x2apic popcnt aes xsave avx f16c rdrand hypervisor lahf_lm ida arat epb pln pts dtherm tpr_shadow vnmi ept vpid fsgsbase smep
3、安装KVM
配置好Yum源后,安装虚拟化主机组包:
yum group install 'Virtu*' -y
4、在KVM中创建虚拟机
打开虚拟机控制终端:
[root@linuxidc ~]# virt-manager &
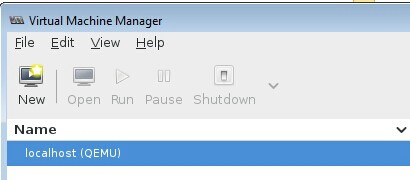
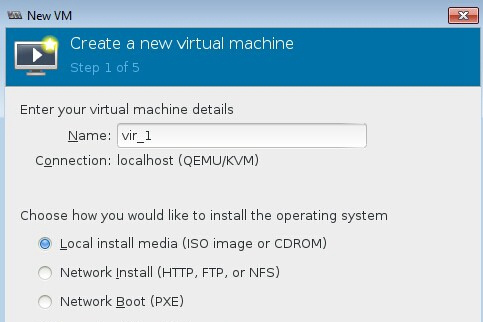
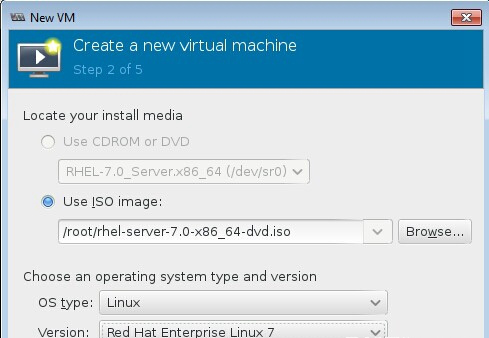
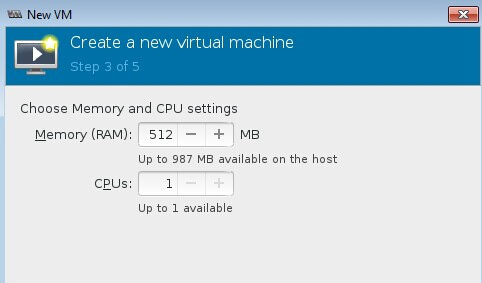
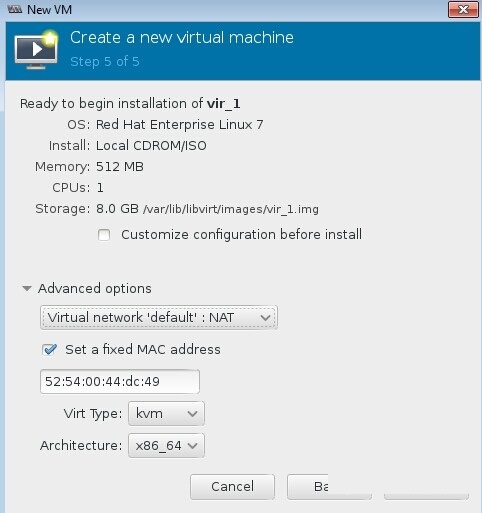
创建虚拟机
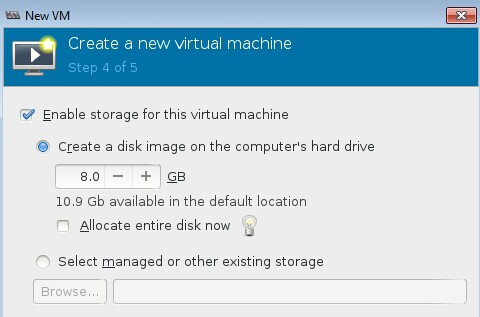
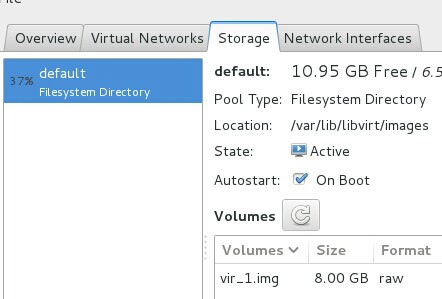
KVM的存储池在路径:/var/lib/libvirt/images
编辑虚拟机的网络类型:
打开编辑连接
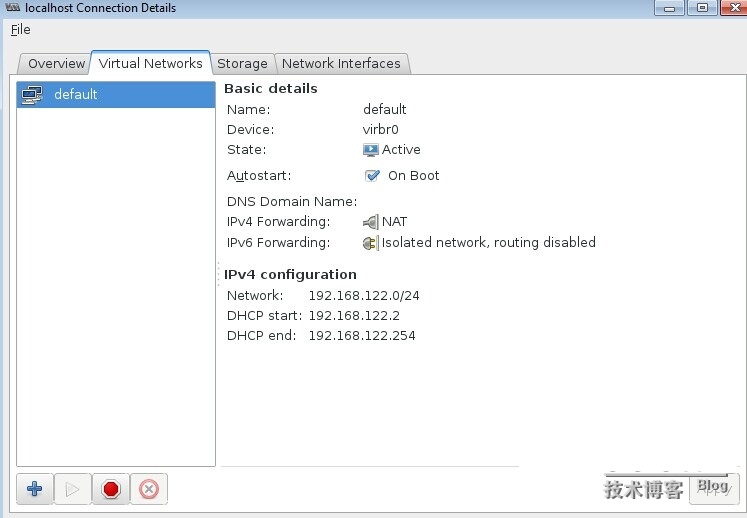
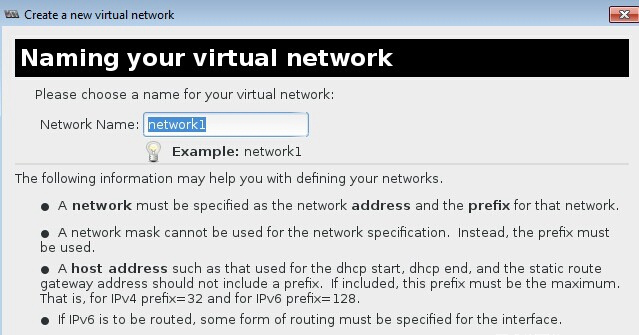
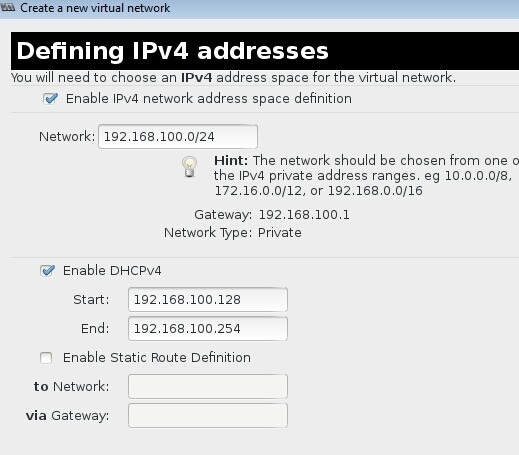
新建一个虚拟网络类型:
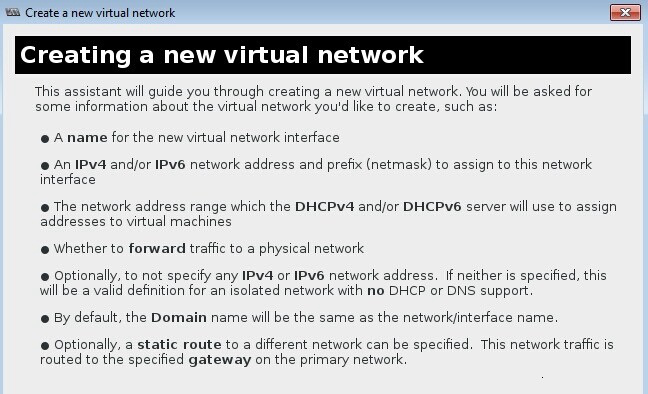 
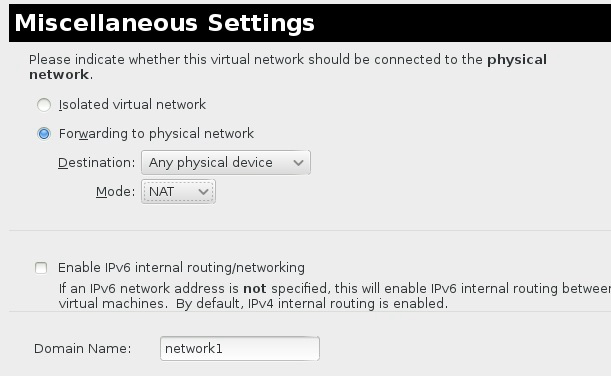
网络类型:
isolated virtual network:独立的虚拟的网络,相当于vm workstation的vmnet0,vmnet1.。。。
forwarding to physical network: mode如果选择是NAT,相当于vm workstation的NAT模式,mode选择routed相当于桥接。
Virsh命令行管理KVM的虚拟机:
virsh [options]... [<command_string>]
virsh [options]... <command> [args...]
常用命令:
list:
shutdown:
destroy:
reboot:
resume:
start:
snapshot-create:创建快照:
undefine: 彻底从KVM删除虚拟机;
console:控制台进入虚拟机;
虚拟机的配置文件目录:cd /etc/libvirt/qemu
五、vir-install命令行安装虚拟机:
首先查看KVM支持的系统平台:
[root@linuxidc ~]# virt-install --os-variant=list
win7 : Microsoft Windows 7
vista : Microsoft Windows Vista
winxp64 : Microsoft Windows XP (x86_64)
winxp : Microsoft Windows XP
win2k : Microsoft Windows 2000
win2k8 : Microsoft Windows Server 2008
win2k3 : Microsoft Windows Server 2003
openbsd4 : OpenBSD 4.x
freebsd8 : FreeBSD 8.x
freebsd7 : FreeBSD 7.x
freebsd6 : FreeBSD 6.x
KVM默认的存储池位置为:/var/lib/libvirt/images,如果需要将虚拟磁盘安装在其他位置,则需要修改上下文权限:
semanage fcontext -a -t virt_image_t "new location"
restorecon -R "new location"
使用命令行安装虚拟机:
[root@linuxidc Desktop]# virt-install -n rhel7 -r 512 --vcpus=1 --location=/root/rhel-server-7.0-x86_64-dvd.iso --controller=usb --os-variant=rhel7 --disk=/var/lib/libvirt/images/mydisk1,size=3
列出活动的虚拟机:
[root@linuxidc ~]# virsh list
Id Name State
----------------------------------------------------
7 rhel7 running
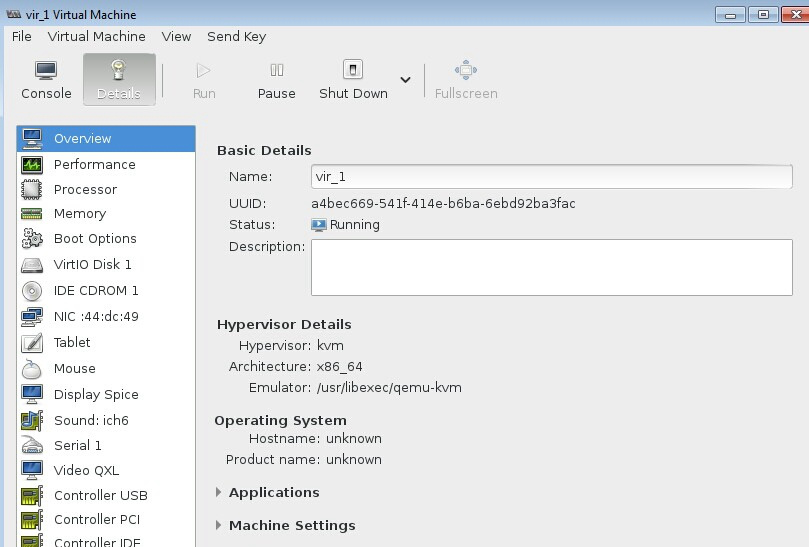
查看虚拟机的更多信息:
[root@linuxidc ~]# virsh domainfo rhel7
error: unknown command: 'domainfo'
[root@linuxidc ~]# virsh dominfo rhel7
Id: 7
Name: rhel7
UUID: 7c096b6b-1d56-4405-86e4-509f612b13aa
OS Type: hvm
State: running
CPU(s): 1
CPU time: 107.3s
Max memory: 524288 KiB
Used memory: 524288 KiB
Persistent: yes
Autostart: disable
Managed save: no
Security model: selinux
Security DOI: 0
Security label: system_u:system_r:svirt_t:s0:c608,c777 (enforcing)
停止运行的虚拟机:
[root@linuxidc ~]# virsh stop rhel7
[root@linuxidc ~]# #virsh shutdown rhel7
[root@linuxidc ~]# #virsh destroy rhel7
开启一个虚拟机:
[root@linuxidc ~]# #virsh start rhel7
删除一个虚拟机:
[root@linuxidc ~]# #virsh destroy rhel7
[root@linuxidc ~]# #virsh undefine rhel7
[root@linuxidc ~]# #rm -rf /var/lib/libvirt/images/mydisk1.img
[root@linuxidc ~]# #virsh pool-refresh default
KVM主机从console口进入虚拟机:
首先,修改虚拟机的内核:
[root@localhost ~]# grubby --update-kernel=ALL --args="console=ttyS0"
重启虚拟机,从KVM host主机console虚拟机:
[root@linuxidc ~]# virsh console rhel7
[root@linuxidc ~]# virsh console rhel7
Connected to domain rhel7
Escape character is ^]
Red Hat Enterprise Linux Server 7.0 (Maipo)
Kernel 3.10.0-123.el7.x86_64 on an x86_64
localhost login: root
Password:
紧急情况的处理,当KVM主机失去了与虚拟主机的所有连接(/etc/fstab,ssh配置等),并且也没有设置任何console连接,那么可以按照以下的办法处理:
首先在KVM主机上关闭虚拟机:
virsh destroy rhel7 查找存储文件位置:
[root@linuxidc ~]# virsh dumpxml rhel7 | grep "source file="
<source file='/var/lib/libvirt/images/mydisk1'/>
将虚拟机的存储文件映射到KVM主机环境:
kpartx -av /var/lib/libvirt/images/mydisk1.img
挂载boot到KVM的mnt目录:
mount /dev/mapper/loop0p1 /mnt
然后编辑/mnt/boot/grub2/grub.cfg文件,在包含有/vmlinuz的那行添加console=ttyS0
卸载mnt目录:
umount /mnt
解除映射:
kpartx -dv /var/lib/libvirt/images/mydisk1.img
重启虚拟机:
virsh start RHEL7
重启完成后,就可以console进入虚拟机:
virsh console rhel7
(责任编辑:IT) |