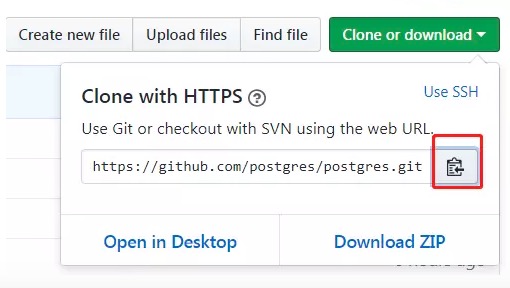
1. 下载源代码
2. 配置
如果不熟悉源代码目录结构,可以看文章:《第 3 课 PostgreSQL代码结构》,我这里就不赘述了。
--prefix=`pwd`/release: 指定安装目录为当前目录下的release。 configure 过程中会出现很多依赖包找不到,如果你连了网,你可以自己安装需要包。
如果不知道全名和选择那个平台可以查找:
如果你先前已经执行./configure过,但是你想重新来过,你可以使用下面的命令恢复原状:
$make clean只是清除编译产生的中间和目标文件,make distclean可以清除configure产生的文件和安装目录,反正就是恢复到初始状态。 ./configrue完成后,在目录下会产生一些新的文件文件。
我们关注需要的文件:GNUmakefile, src/Makefile.global。GNUmakefile是由GNUmakefile.in模板生成。Makefile.global是由Makefile.global.in模板文件生成而来。 修改Makefile.global中的编译选项:O2改为O0,这样编译出来未优化,方便调试代码。
 260 CFLAGS = -Wall -Wmissing-prototypes -Wpointer-arith -Wdeclaration-after-statement -Werror=vla -Wendif-labels -Wmissing-format-attribute -Wformat-security -fno-strict-
     aliasing -fwrapv -fexcess-precision=standard -g -O2
 261 CFLAGS_VECTOR =  -funroll-loops -ftree-vectorize
 262 CFLAGS_SSE42 = -msse4.2
 263 CFLAGS_ARMV8_CRC32C =
 264 CXXFLAGS = -Wall -Wpointer-arith -Wendif-labels -Wmissing-format-attribute -Wformat-security -fno-strict-aliasing -fwrapv -g -O2
 260 CFLAGS = -Wall -Wmissing-prototypes -Wpointer-arith -Wdeclaration-after-statement -Werror=vla -Wendif-labels -Wmissing-format-attribute -Wformat-security -fno-strict-
     aliasing -fwrapv -fexcess-precision=standard -g -O0
 261 CFLAGS_VECTOR =  -funroll-loops -ftree-vectorize
 262 CFLAGS_SSE42 = -msse4.2
 263 CFLAGS_ARMV8_CRC32C =
 264 CXXFLAGS = -Wall -Wpointer-arith -Wendif-labels -Wmissing-format-attribute -Wformat-security -fno-strict-aliasing -fwrapv -g -O0
3. 编译代码在根目录下,执行:
如果你是多核虚拟机,你可以-jx, x就是你的核数,可以加快编译速度,第一次编译大约需要3~5分钟。 4. 安装
会安装到你configure配置的--prefix指定的目录,我是在当前目录的release下: $ ls bin include lib share 进入bin目录,初始化服务:
启动:
查看进程:
5. 连接服务器
>$ ./psql -d postgres -Upostgres -W
Password:
postgres=# select version();
                                                  version
------------------------------------------------------------------------------------------------------------
 PostgreSQL 12devel on x86_64-pc-linux-gnu, compiled by gcc (GCC) 4.8.5 20150623 (Red Hat 4.8.5-28), 64-bit
(1 row)
postgres=# \dn+
                          List of schemas
  Name  |  Owner   |  Access privileges   |      Description
--------+----------+----------------------+------------------------
 public | postgres | postgres=UC/postgres+| standard public schema
        |          | =UC/postgres         |
(1 row)

postgres=# \l
                                  List of databases
   Name    |  Owner   | Encoding |   Collate   |    Ctype    |   Access privileges
-----------+----------+----------+-------------+-------------+-----------------------
 postgres  | postgres | UTF8     | zh_CN.UTF-8 | zh_CN.UTF-8 |
 template0 | postgres | UTF8     | zh_CN.UTF-8 | zh_CN.UTF-8 | =c/postgres          +
           |          |          |             |             | postgres=CTc/postgres
 template1 | postgres | UTF8     | zh_CN.UTF-8 | zh_CN.UTF-8 | =c/postgres          +
           |          |          |             |             | postgres=CTc/postgres
(3 rows)
(责任编辑:IT) |