|
1、配置yum源 vim /etc/yum.repos.d/gitlab-ce.repo 复制以下内容: [gitlab-ce] name=Gitlab CE Repository baseurl=https://mirrors.tuna.tsinghua.edu.cn/gitlab-ce/yum/el$releasever/ gpgcheck=0 enabled=1
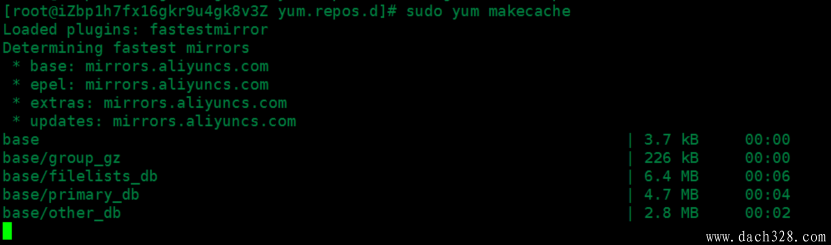
2、更新本地yum缓存 sudo yum makecache
3、安装GitLab社区版 sudo yum install gitlab-ce #自动安装最新版 sudo yum install gitlab-ce-x.x.x #安装指定版本
安装完成了!!!直接通过ip地址即可访问 http://192.168.1.100/ 。
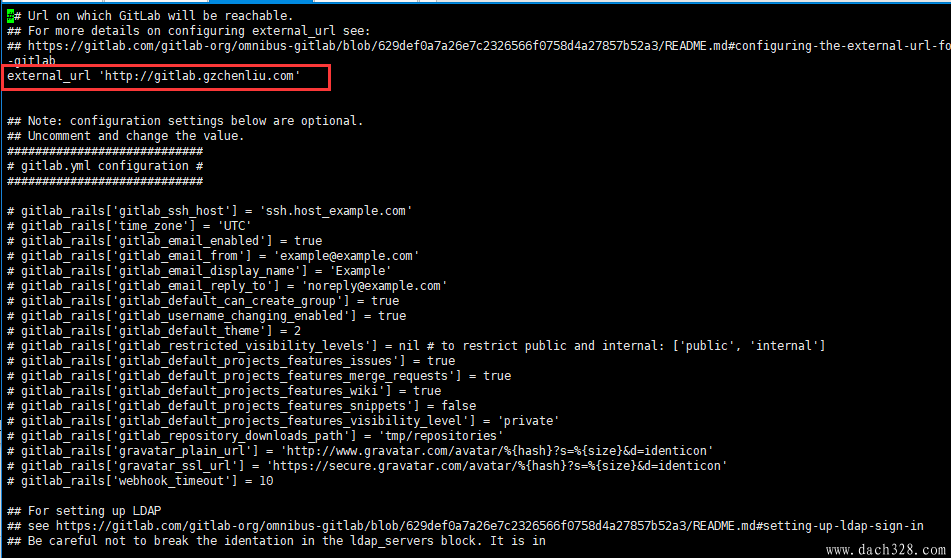
配置绑定域名
vi /etc/gitlab/gitlab.rb
GitLab常用命令 sudo gitlab-ctl start # 启动所有 gitlab 组件; sudo gitlab-ctl stop # 停止所有 gitlab 组件; sudo gitlab-ctl restart # 重启所有 gitlab 组件; sudo gitlab-ctl status # 查看服务状态; sudo gitlab-ctl reconfigure # 启动服务; sudo vim /etc/gitlab/gitlab.rb # 修改默认的配置文件; gitlab-rake gitlab:check SANITIZE=true --trace # 检查gitlab; sudo gitlab-ctl tail # 查看日志; (责任编辑:IT) |