Cobbler定制安装及重装系统
时间:2016-12-16 18:59 来源:linux.it.net.cn 作者:IT
定制安装
获取帮助
1
[root@linux-node1 ~]# cobbler system add --help
定制安装意思就是我可以通过MAC地址给指定的机器安装系统,而且安装完成之后还可以对服务器做一些相对应的操作,那么我们上一篇文章最后已经安装了一台CentS-7的系统,那么我们现在就把这才系统给重装了,意思就是CentOS-7这台机器再重启之后会自动安装,并且主机名、IP等信息已经配置好了。
首先在CentOS-7这台机器上面获取网卡的MAC地址
1
2
3
4
5
6
7
8
9
[root@localhost ~]# ifconfig eth0
eth0: flags=4163<UP,BROADCAST,RUNNING,MULTICAST> mtu 1500
inet 192.168.56.138 netmask 255.255.255.0 broadcast 192.168.56.255
inet6 fe80::20c:29ff:feef:129e prefixlen 64 scopeid 0x20<link>
ether 00:0c:29:ef:12:9e txqueuelen 1000 (Ethernet)
RX packets 440 bytes 171477 (167.4 KiB)
RX errors 0 dropped 0 overruns 0 frame 0
TX packets 187 bytes 24788 (24.2 KiB)
TX errors 0 dropped 0 overruns 0 carrier 0 collisions 0
MAC地址就是00:0c:29:ef:12:9e
注意以下操作就是Cobbler服务端上面进行操作了
1
[root@linux-node1 ~]# cobbler system add --name=linux-node2.example.com --mac-address=00:0c:29:ef:12:9e --profile=CentOS-7-x86_64 --ip-address=192.168.56.12 --subnet=255.255.255.0 --gateway=192.168.56.2 --interface=eth0 --static=1 --hostname=linux-node2.example.com --name-servers=192.168.56.2 --kickstart=/var/lib/cobbler/kickstarts/CentOS-7-x86_64.cfg
1
2
3
[root@linux-node1 ~]# cobbler system list
# 这就是我们刚才添加的那台机器
linux-node2.example.com
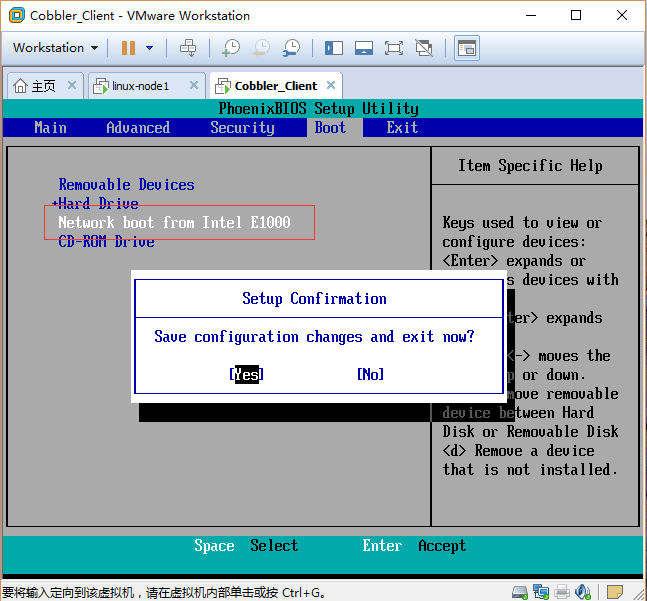
重新启动CentOS-7这台机器,然后从网卡启动,启动之后会自动获取IP地址进行重装

cobbler-restart-os-01

cobbler-restart-os-02
安装完成后记得把启动模式调回硬盘启动哦,要不然又要无限制重装了
登陆系统验证配置信息
1
2
3
4
5
6
7
8
9
10
11
12
13
14
15
16
17
18
19
20
21
22
23
24
25
26
27
28
29
30
31
32
33
34
35
36
37
38
39
40
41
42
43
44
45
46
47
48
49
50
Last failed login: Sun May 29 16:10:54 CST 2016 from 192.168.56.1 on ssh:notty
There was 1 failed login attempt since the last successful login.
Last login: Sun May 29 16:10:07 2016
[root@linux-node2 ~]# hostname
linux-node2.example.com
[root@linux-node2 ~]# cat /etc/resolv.conf
# Generated by NetworkManager
search example.com
nameserver 192.168.56.2
[root@linux-node2 ~]# cat /etc/redhat-release
CentOS Linux release 7.2.1511 (Core)
[root@linux-node2 ~]# cat /etc/sysconfig/network-scripts/ifcfg-eth0
# Generated by dracut initrd
NAME="eth0"
HWADDR=00:0C:29:EF:12:9E
ONBOOT=yes
NETBOOT=yes
UUID="6fb9ae6d-4a89-4d75-b201-045630b5e76e"
IPV6INIT=yes
BOOTPROTO=none
TYPE=Ethernet
DNS1=192.168.56.2
DEFROUTE=yes
IPV4_FAILURE_FATAL=no
IPV6_AUTOCONF=yes
IPV6_DEFROUTE=yes
IPV6_FAILURE_FATAL=no
IPADDR=192.168.56.12
PREFIX=24
GATEWAY=192.168.56.2
IPV6_PEERDNS=yes
IPV6_PEERROUTES=yes
[root@linux-node2 ~]# ifconfig
eth0: flags=4163<UP,BROADCAST,RUNNING,MULTICAST> mtu 1500
inet 192.168.56.12 netmask 255.255.255.0 broadcast 192.168.56.255
inet6 fe80::20c:29ff:feef:129e prefixlen 64 scopeid 0x20<link>
ether 00:0c:29:ef:12:9e txqueuelen 1000 (Ethernet)
RX packets 219 bytes 40464 (39.5 KiB)
RX errors 0 dropped 0 overruns 0 frame 0
TX packets 165 bytes 23647 (23.0 KiB)
TX errors 0 dropped 0 overruns 0 carrier 0 collisions 0
lo: flags=73<UP,LOOPBACK,RUNNING> mtu 65536
inet 127.0.0.1 netmask 255.0.0.0
inet6 ::1 prefixlen 128 scopeid 0x10<host>
loop txqueuelen 0 (Local Loopback)
RX packets 4 bytes 340 (340.0 B)
RX errors 0 dropped 0 overruns 0 frame 0
TX packets 4 bytes 340 (340.0 B)
TX errors 0 dropped 0 overruns 0 carrier 0 collisions 0
重装
当我们把客户机安装好之后如果要进行客户机重装, 那么就需要以来一个软件包koan。
在客户机上安装koan软件包
1
2
[root@linux-node2 ~]# yum -y install koan
# 默认的yum源是国外的,如果不能使用请配置成可用的yum源
获取cobbler服务端可以选择重装的profile(ks)
1
2
3
4
[root@linux-node2 ~]# koan --server=192.168.56.11 --list=profiles
- looking for Cobbler at http://192.168.56.11:80/cobbler_api
CentOS-7-x86_64
CentOS-6-x86_64
制定重装成CentOS-6-x86_64
1
2
[root@linux-node2 ~]# koan --replace-self --server=192.168.56.11 --profile=CentOS-6-x86_64
[root@linux-node2 ~]# reboot
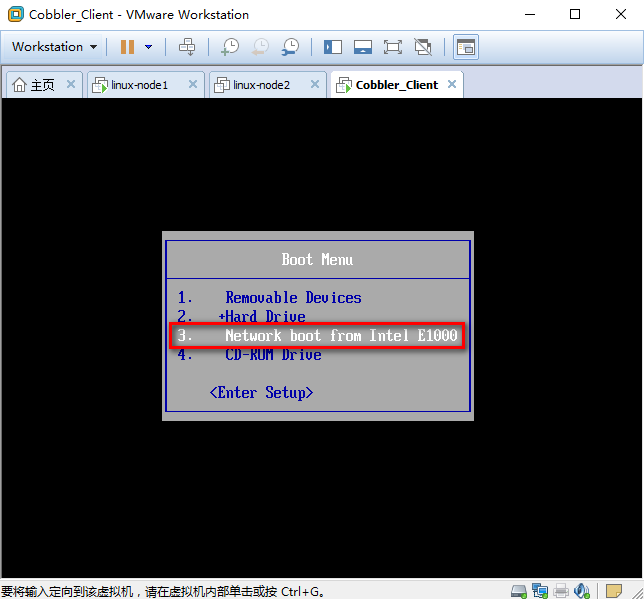
最后重启系统网卡启动就会自动安装了,注意安装的时候是不需要选择的

cobbler-restart-os-03
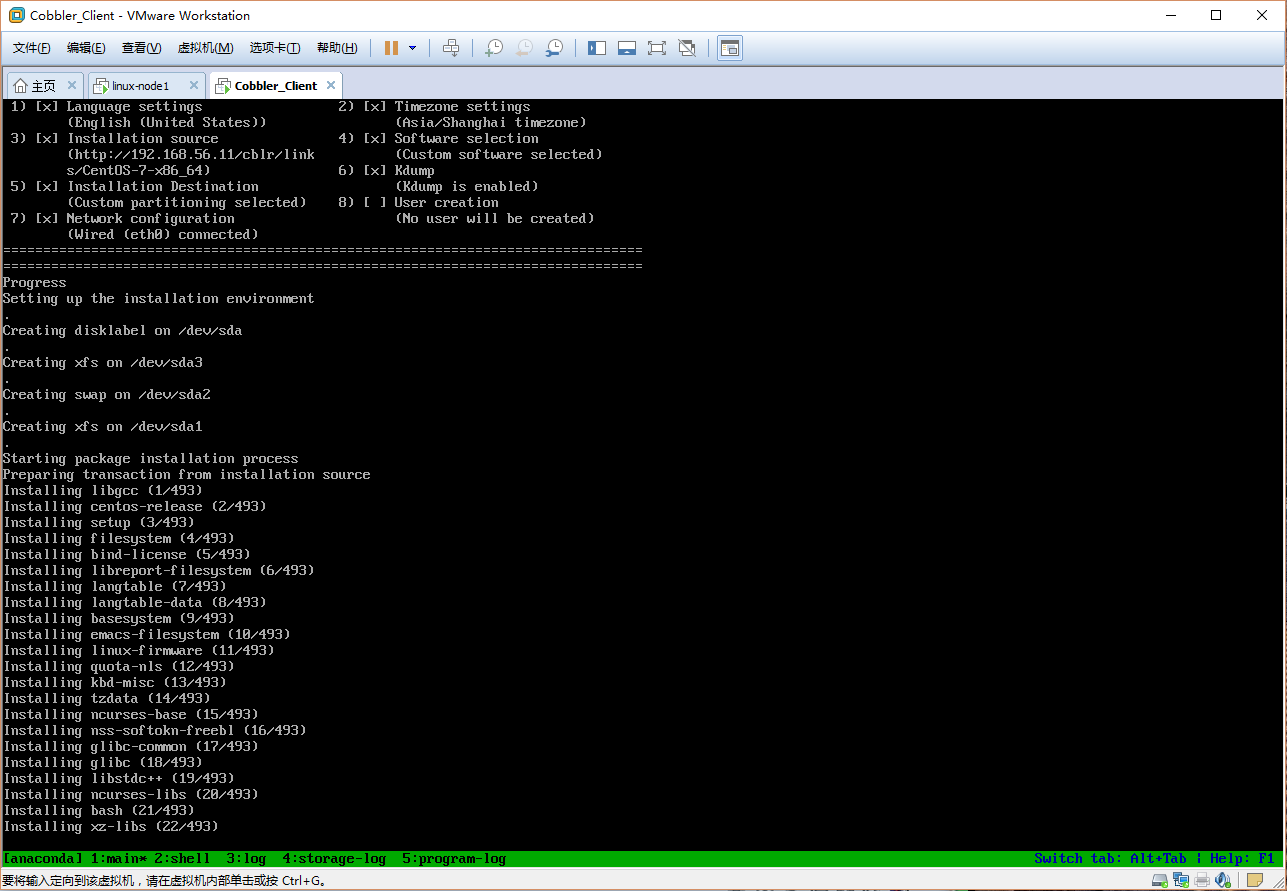
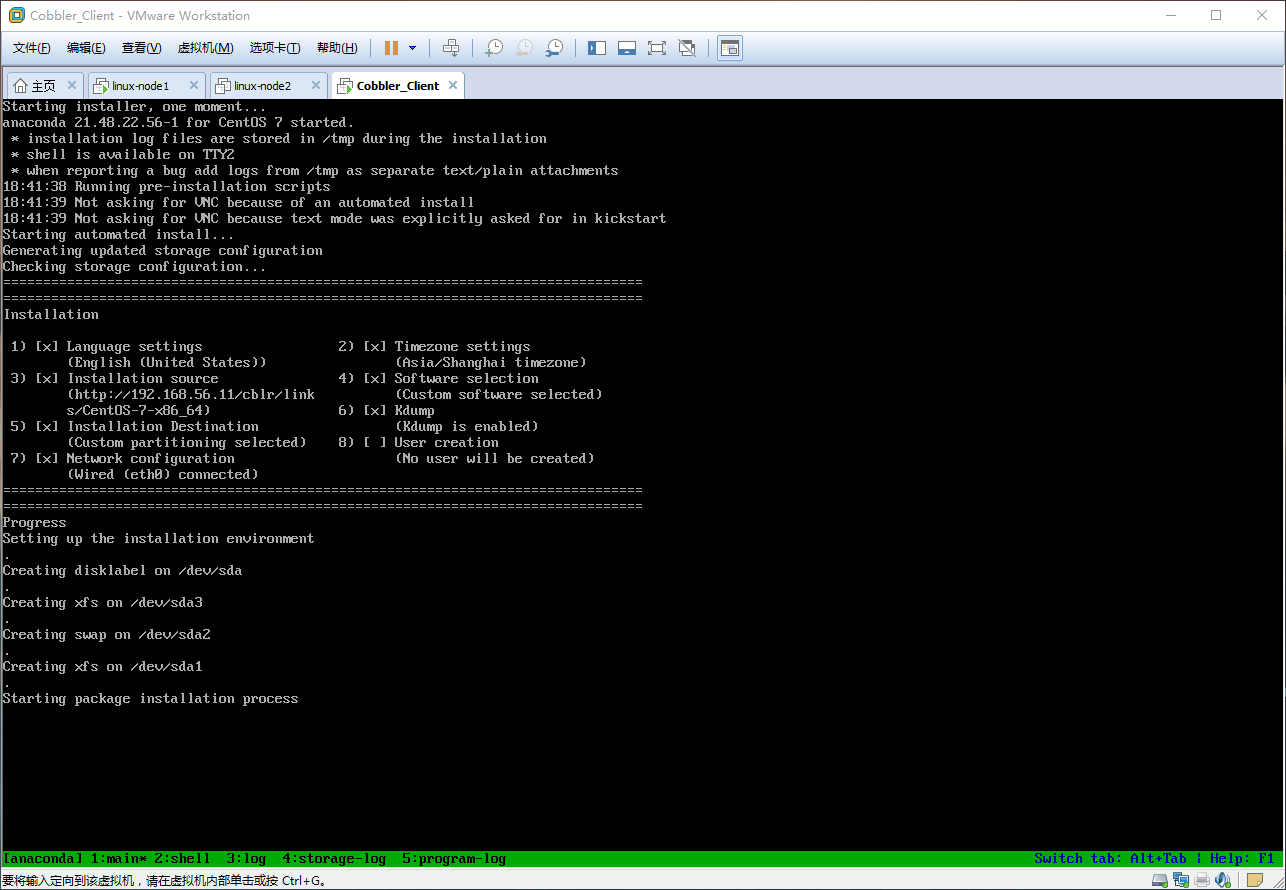
正在安装

cobbler-restart-os-04
安装完成之后记得把取消网卡自动启动哦,避免重装。
(责任编辑:IT)
定制安装获取帮助
定制安装意思就是我可以通过MAC地址给指定的机器安装系统,而且安装完成之后还可以对服务器做一些相对应的操作,那么我们上一篇文章最后已经安装了一台CentS-7的系统,那么我们现在就把这才系统给重装了,意思就是CentOS-7这台机器再重启之后会自动安装,并且主机名、IP等信息已经配置好了。 首先在CentOS-7这台机器上面获取网卡的MAC地址
MAC地址就是00:0c:29:ef:12:9e 注意以下操作就是Cobbler服务端上面进行操作了
重新启动CentOS-7这台机器,然后从网卡启动,启动之后会自动获取IP地址进行重装
安装完成后记得把启动模式调回硬盘启动哦,要不然又要无限制重装了 登陆系统验证配置信息
重装当我们把客户机安装好之后如果要进行客户机重装, 那么就需要以来一个软件包koan。 在客户机上安装koan软件包
获取cobbler服务端可以选择重装的profile(ks)
制定重装成CentOS-6-x86_64
最后重启系统网卡启动就会自动安装了,注意安装的时候是不需要选择的
正在安装
安装完成之后记得把取消网卡自动启动哦,避免重装。 (责任编辑:IT) |