|
LAMP平台规划 主机1:httpd+php IP地址:10.170.2.60,安装httpd-2.4.9和php-5.4.26 主机2:mariadb IP地址:10.170.2.50,安装mariadb-5.5.36
配置主机1 编译安装apr-1.5.0 # tar xf apr-1.5.0.tar.bz2 # cd apr-1.5.0 # ./configure --prefix=/usr/local/apr # make && make install
编译安装apr-util-1.5.3 # tar xf apr-util-1.5.3.tar.bz2 # cd apr-util-1.5.3 # ./configure --prefix=/usr/local/apr-util --with-apr=/usr/local/apr/ # make && make install
编译安装httpd-2.4.9 # tar xf httpd-2.4.9.tar.bz2 # cd httpd-2.4.9 # ./configure --prefix=/usr/local/apache --sysconfdir=/etc/httpd24 --enable-so --enable-ssl --enable-cgi --enable-rewrite --with-zlib --with-pcre --with-apr=/usr/local/apr --with-apr-util=/usr/local/apr-util --enable-modules=most --enable-mpms-shared=all --with-mpm=event # make && make install
修改httpd主配置文件,设置Pid文件的路径 # vim /etc/httpd24/httpd.conf 在ServerRoot "/usr/local/apache"行下面添加一行: PidFile "/var/run/httpd.pid" 提供SysV服务脚本/etc/rc.d/init.d/httpd24,这个文件需要新建 # vim /etc/rc.d/init.d/httpd24 说明:由于脚本内容较长,此处没有将其贴出,非常抱歉 # chmod +x /etc/rc.d/init.d/httpd24 # chkconfig --add httpd24 # chkconfig httpd24 on 启动http24服务并测试 # service httpd24 start
启动httpd24服务时存在下面一段信息: Starting httpd: AH00558: httpd: Could not reliably determine the server's fully qualified domain name, using localhost.localdomain. Set the 'ServerName' directive globally to suppress this message 解决办法: # vim /etc/httpd24/httpd.conf 将文件中的# ServerName www.example.com:80这一行启用,你可以修改为你想要 的服务器名,例如:ServerName www.muluhe.com,然后重启httpd24服务 # service httpd24 restart
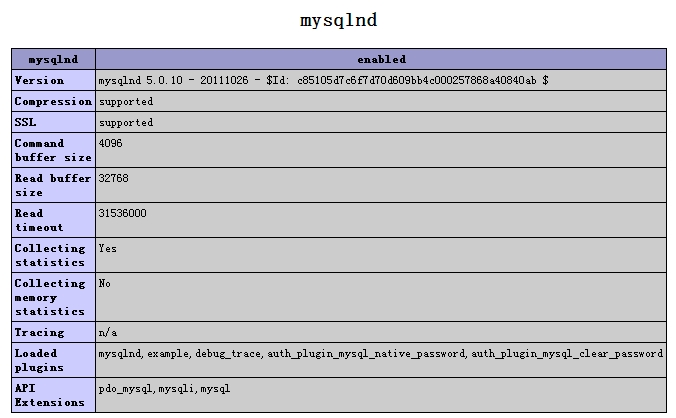
编译安装php-5.4.26 # tar xf php-5.4.26.tar.bz2 # cd php-5.4.26 #./configure --prefix=/usr/local/php5 --with-mysql=mysqlnd --with-pdo-mysql=mysqlnd --with-mysqli=mysqlnd --with-openssl --enable-mbstring --with-freetype-dir --with-jpeg-dir--with-png-dir --with-zlib --with-libxml-dir=/usr --enable-xml --enable-sockets --enable-fpm --with-mcrypt --with-config-file-path=/etc --with-config-file-scan-dir=/etc/php.d --with-bz2 # make && make install
为php提供配置文件 # cp php.ini-production /etc/php.ini 编辑httpd配置文件,以支持php # vim /etc/httpd24/httpd.conf 在AddType application/x-gzip .gz .tgz行下面添加下面两行: AddType application/x-httpd-php .php AddType application/x-httpd-php-source .phps
将DirectoryIndex index.html这一行改为: DirectoryIndex index.php index.html
为php提供SysV启动脚本 # cp sapi/fpm/init.d.php-fpm /etc/init.d/php-fpm # chmod +x /etc/init.d/php-fpm # chkconfig --add php-fpm # chkconfig php-fpm on
为php提供配置文件并编辑配置文件
# cp /usr/local/php5/etc/php-fpm.conf.default/usr/local/php5/etc/php-fpm.conf # vim /usr/local/php5/etc/php-fpm.conf pm.max_children = 50 pm.start_servers = 5 pm.min_spare_servers = 2 pm.max_spare_servers = 8 pid = /usr/local/php5/var/run/php-fpm.pid listen = 10.170.2.60:9000
创建虚拟主机并开启虚拟主机,结合php # vim /etc/httpd24/httpd.conf 开启下面两个装载模块: LoadModule proxy_module modules/mod_proxy.so LoadModule proxy_fcgi_module modules/mod_proxy_fcgi.so 开启虚拟主机,默认情况是关闭的: Include /etc/httpd24/extra/httpd-vhosts.conf
编辑虚拟主机配置文件 # vim /etc/httpd24/extra/httpd-vhosts.conf
<VirtualHost *:80> DocumentRoot "/var/www/php" ServerName www.muluhe.com ProxyRequests Off ProxyPassMatch ^/(.*\.php)$ fcgi://10.170.2.60:9000/var/www/php/$1 <Directory "/var/www/php"> Options none AllowOverride none Require all granted </Directory> </VirtualHost> 创建/var/www/php目录并添加测试页 # mkdir /var/www/php # cd /var/www/php # vim index.php
<?php phpinfo(); ?> 重启httpd24和php服务,测试httpd和php结合 # service httpd24 restart # service php-fpm restart
配置主机2 编译安装mariadb-5.5.36 # tar xf mariadb-5.5.36-linux-x86_64.tar.gz -C /usr/local # cd /usr/local/ 创建mariadb-5.5.36-linux-x86_64符号链接: # ln -sv mariadb-5.5.36-linux-x86_64/ mysql 创建mysql组和mysql用户: # groupadd -r mysql # useradd -g mysql -r mysql 为数据库提供配置文件: # cd mysql # mkdir /etc/mysql # chown -R root.mysql ./* # cp support-files/my-large.cnf /etc/mysql/my.cnf 修改文件/etc/mysql/my.cnf文件内容,在thread_concurrency = 8行下添加一行: datadir = /mysql/data 创建存放数据库数据目录 # mkdir -pv /mysql/data # chown -R mysql.mysql /mysql # chown -R mysql.mysql /mysql/data 为数据库提供SysV启动脚本,并设置为开机启动: # cp support-files/mysql.server /etc/init.d/mysqld # chkconfig --add mysqld # chkconfig mysqld on
初始化数据库并启动数据库: # vim /etc/profile.d/mysql.sh export PATH=/usr/local/mysql/bin:$PATH # source /etc/profile.d/mysql.sh # vim /etc/ld.so.conf.d/mysql.conf /usr/local/mysql/lib # ln -sv /usr/local/mysql/include/ /usr/include/mysql # scripts/mysql_install_db --user=mysql --datadir=/mysql/data/ # service
测试分离式LAMP平台 创建数据库并授权: 设置数据库密码: # mysqladmin -u root password 登录数据库并授权: # mysql -u root -p MariaDB [(none)]> CREATE DATABASE pma; MariaDB [(none)]> GRANT ALL ON pma.* TO 'pma'@'10.170.2.60' IDENTIFIED BY '666666'; MariaDB [(none)]> FLUSH PRIVILEGES; MariaDB [(none)]> SHOW DATABASES;
解压文件phpMyAdmin-3.5.1-all-languages.tar.bz2到/var/www/php,然后进行一些设定: # tar xf phpMyAdmin-3.5.1-all-languages.tar.bz2 -C /var/www/php # cd /var/www/php # mv phpMyAdmin-3.5.1-all-languages pma # cd pma # cp config.sample.inc.php config.inc.php # vim config.inc.php $cfg['blowfish_secret'] = 'a8b7c6dabkekif7449'; $cfg['Servers'][$i]['host'] = '10.170.2.50';
重启httpd24和php服务: # service httpd24 restart # service php-fpm restart
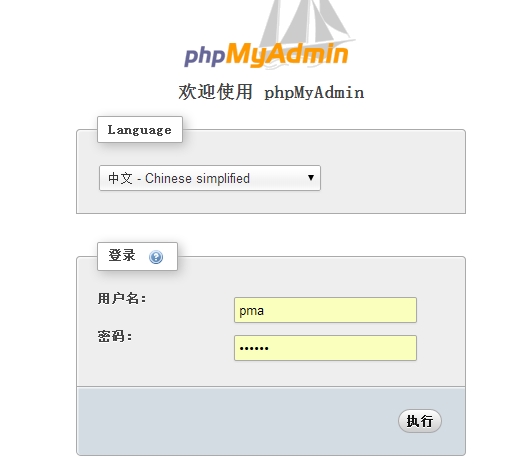
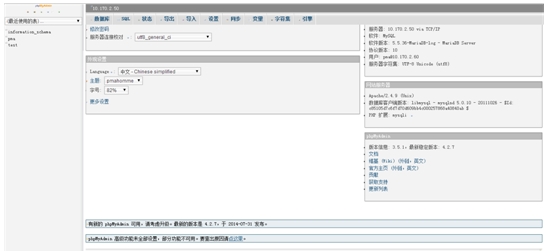
在浏览器下输入:10.170.2.60/pma可以得到结果,然后输入账号和密码进行登录:
|


